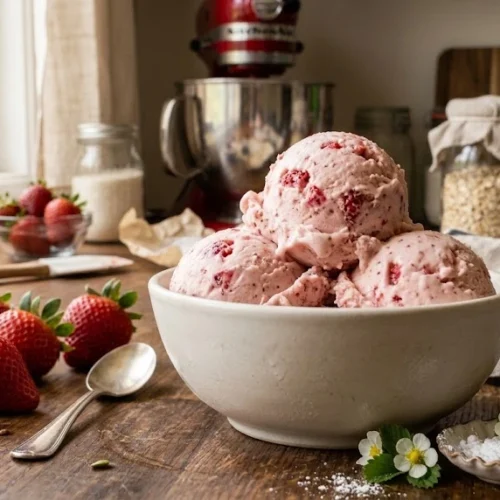
KitchenAid Strawberry Ice Cream Recipe
This KitchenAid Strawberry Ice Cream Recipe is one of those summer treats I never get tired of making. Fresh strawberries, cream, and a little vanilla turn into a smooth, old-fashioned ice cream that tastes so much better than anything sitting in my freezer aisle.I especially like making it when strawberries are really ripe and fragrant. The KitchenAid ice cream attachment does most of the hard work, so we get that creamy homemade texture without spending all afternoon in the kitchen.
Equipment
- KitchenAid stand mixer
- KitchenAid ice cream maker attachment
- Medium mixing bowl
- Measuring cups and spoons
- Cutting board
- Sharp paring knife
- Fork or potato masher
- Whisk
- Rubber spatula
- Freezer-safe ice cream container
Ingredients
- 2 cups fresh strawberries hulled and chopped
- 3/4 cup granulated sugar divided
- 1 tablespoon fresh lemon juice
- 2 cups heavy whipping cream
- 1 cup whole milk
- 1 teaspoon pure vanilla extract
- 1 small pinch fine salt
Instructions
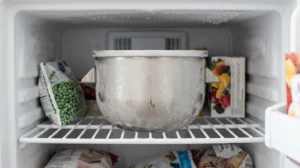
Step 1. Freeze the KitchenAid Bowl
- Freeze the KitchenAid ice cream bowl for at least 15 hours, preferably overnight. The bowl should be completely frozen before you begin, or the ice cream may not thicken properly during churning.
Step 2. Prepare the Strawberries
- Combine the chopped strawberries with 1/4 cup sugar and lemon juice. Stir well and let them sit for 20–30 minutes, allowing the berries to soften and release their natural juices.
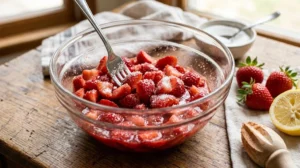
Step 3.Mash the Strawberries
- Gently mash the strawberries with a fork or potato masher. Leave a few small pieces for texture, or mash them more thoroughly if you prefer smoother strawberry ice cream.

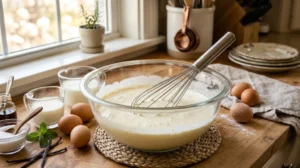
Step 4.Make the Ice Cream Base
- Whisk the remaining 1/2 cup sugar with the whole milk until mostly dissolved. Add the heavy cream, vanilla, and a pinch of salt, then gently stir everything together.
Step 5.Add the Strawberries
- Stir the mashed strawberries and their juices into the cream mixture. Keeping the strawberry juice adds fresh berry flavor and gives the ice cream its naturally pretty pink color.

Step 6.Chill the Mixture
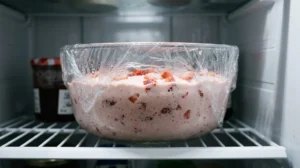
- Cover and refrigerate the strawberry ice cream base for about 2 hours, or until thoroughly chilled. I’ve found that starting with a cold mixture helps it churn faster and gives it a smoother texture.
Step 7.Prepare the KitchenAid
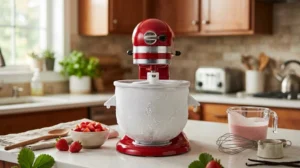
- Attach the frozen ice cream bowl and dasher to your KitchenAid stand mixer according to your attachment instructions. Start the mixer at the recommended low speed before adding the mixture.
Step 8.Churn the Ice Cream
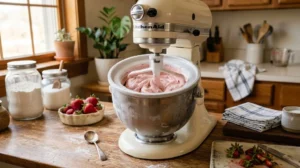
- Slowly pour the chilled mixture into the running ice cream maker. Churn for about 20–25 minutes, or according to your attachment instructions, until thick and similar to soft-serve ice cream.
Step 9.Transfer to a Container
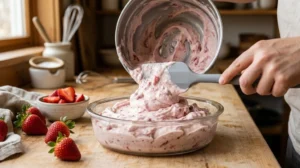
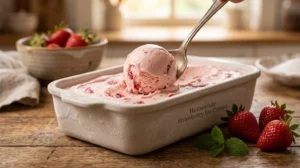
- Spoon the churned strawberry ice cream into a freezer-safe container and smooth the top. You can enjoy it immediately for a soft-serve consistency or freeze it for firmer scoops.
Step 10.Freeze Until Firm
- Cover tightly and freeze for 2–4 hours. If the ice cream becomes very firm overnight, let it sit at room temperature for 5–10 minutes before scooping.
Video
Notes
One serving contains approximately 300 calories, depending on the type of cream and amount of sugar used. I usually sneak a spoonful straight from the KitchenAid bowl after churning, when the strawberry ice cream is still soft and creamy, almost like strawberry soft serve. Honestly, that might be my favorite part.