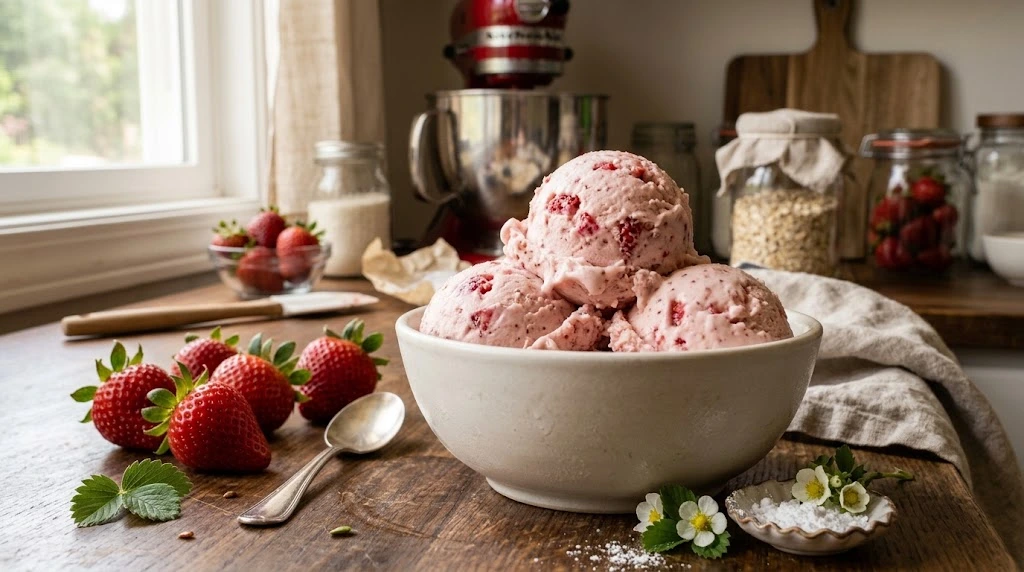
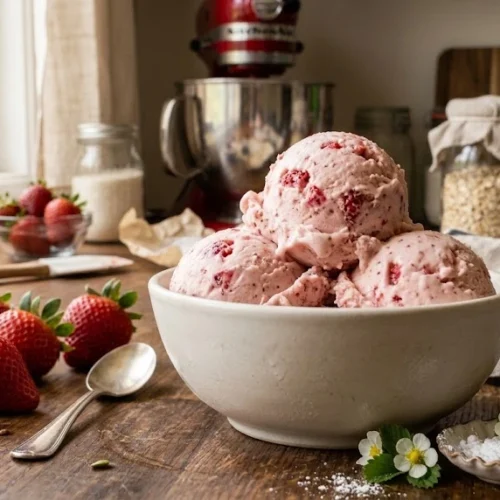
This KitchenAid Strawberry Ice Cream Recipe is one of those summer treats I never get tired of making. Fresh strawberries, cream, and a little vanilla turn into a smooth, old-fashioned ice cream that tastes so much better than anything sitting in my freezer aisle.
I especially like making it when strawberries are really ripe and fragrant. The KitchenAid ice cream attachment does most of the hard work, so we get that creamy homemade texture without spending all afternoon in the kitchen.
Recipe Overview
Prep Time: 20 minutes
Cook Time: 5 minutes
Chill Time: 2 hours
Churn Time: 20–25 minutes
Freeze Time: 2–4 hours
Total Time: About 5 hours
Servings: 8
Cuisine: American
Course/Category: Dessert / Homemade Ice Cream
Calories + Personal Recipe Note
One serving has approximately 300 calories, depending on the cream and amount of sugar you use. I usually sneak a spoonful straight from the KitchenAid bowl after churning it’s softer then, almost like strawberry soft serve, and honestly that may be my favorite part.
History of Strawberry Ice Cream
Strawberry ice cream has been enjoyed in America for generations, traditionally made with fresh berries, sugar, and cream and churned by hand with ice and salt.
Today, a KitchenAid makes the process much simpler while keeping that classic homemade flavor. I’ve found that ripe strawberries and simple ingredients give the best results when the berries are sweet, let them be the star.
Ingredients
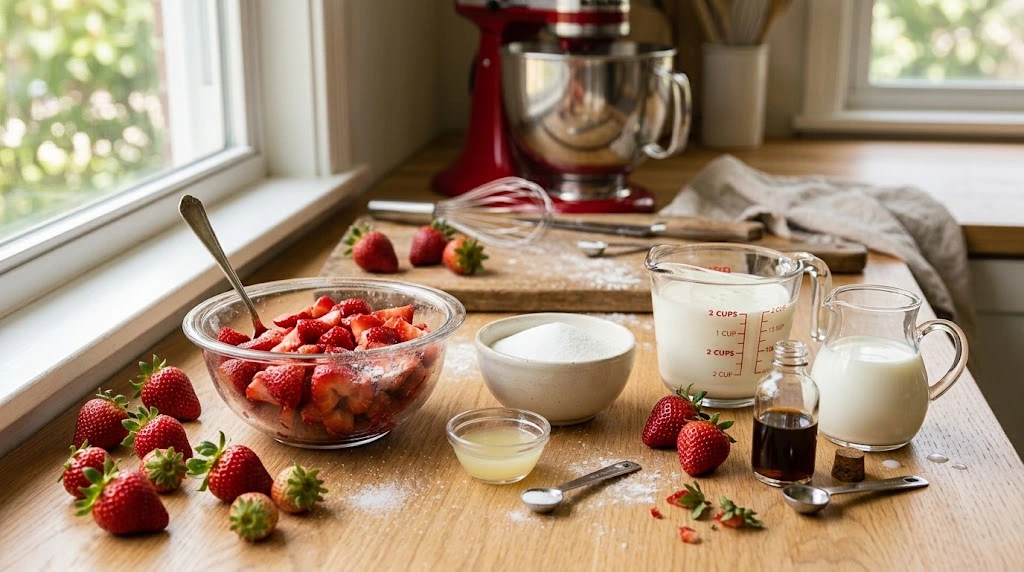
For this KitchenAid Strawberry Ice Cream Recipe, I like fresh strawberries that are deep red and smell sweet before I even cut them. If your berries are a little tart, don’t worry the sugar helps bring out their flavor as they sit.
| Ingredient | Quantity |
|---|---|
| Fresh strawberries, hulled and chopped | 2 cups |
| Granulated sugar, divided | 3/4 cup |
| Fresh lemon juice | 1 tablespoon |
| Heavy whipping cream | 2 cups |
| Whole milk | 1 cup |
| Pure vanilla extract | 1 teaspoon |
| Fine salt | 1 small pinch |
One little thing I’ve learned: don’t skip the lemon juice just because it seems unnecessary. You won’t really taste lemon in the finished ice cream; it simply wakes up the strawberries and keeps all that rich cream from tasting too heavy.
Equipment
- KitchenAid stand mixer
- KitchenAid ice cream maker attachment
- Medium mixing bowl
- Measuring cups and spoons
- Cutting board
- Sharp paring knife
- Fork or potato masher
- Whisk
- Rubber spatula
- Freezer-safe ice cream container
How to Make KitchenAid Strawberry Ice Cream
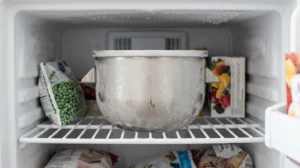
Step 1. Freeze the KitchenAid Bowl
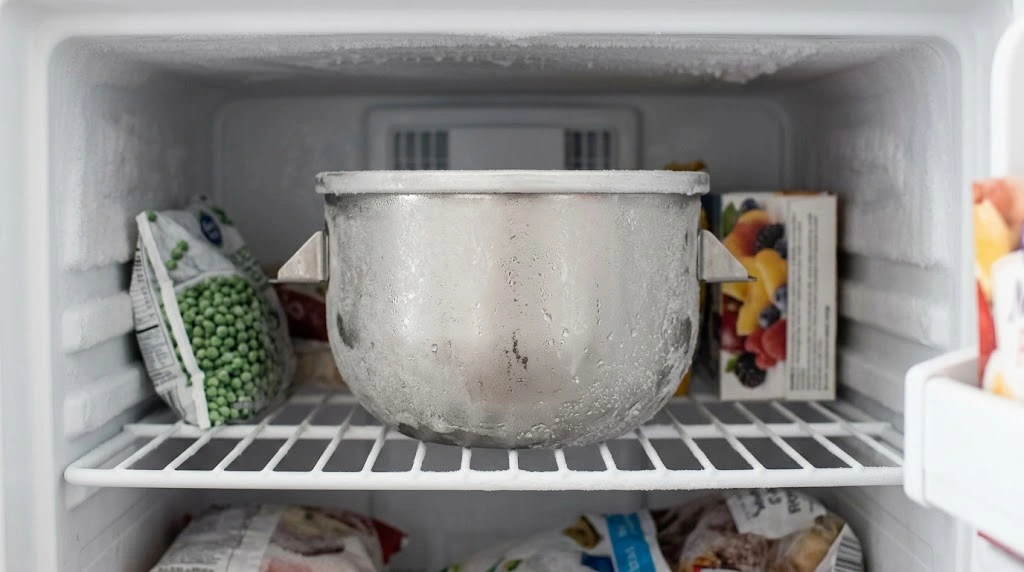
Freeze the KitchenAid ice cream bowl for at least 15 hours, preferably overnight. The bowl should be completely frozen before you begin, or the ice cream may not thicken properly during churning.
Step 2. Prepare the Strawberries
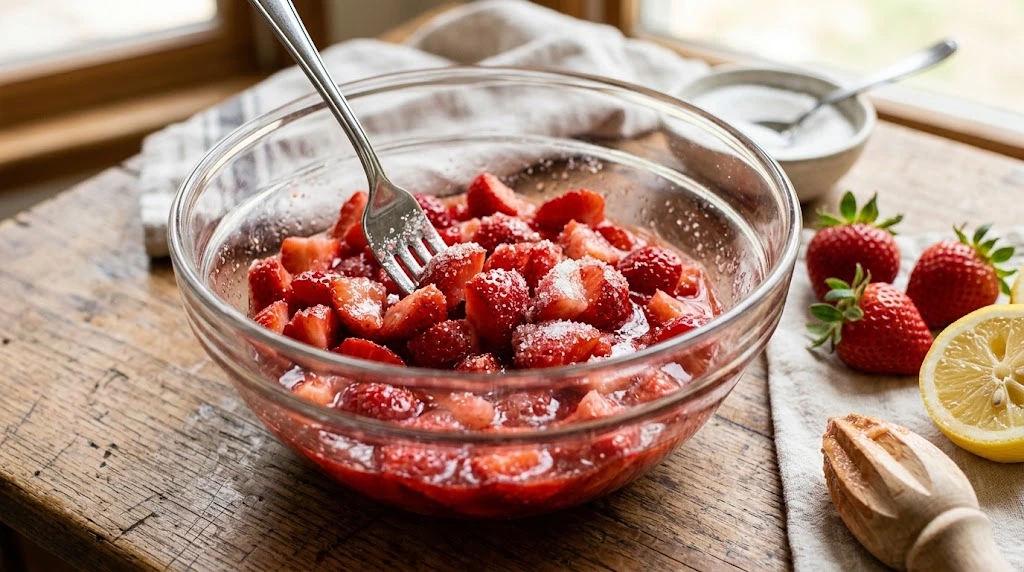
Combine the chopped strawberries with 1/4 cup sugar and lemon juice. Stir well and let them sit for 20–30 minutes, allowing the berries to soften and release their natural juices.
Step 3. Mash the Strawberries
i
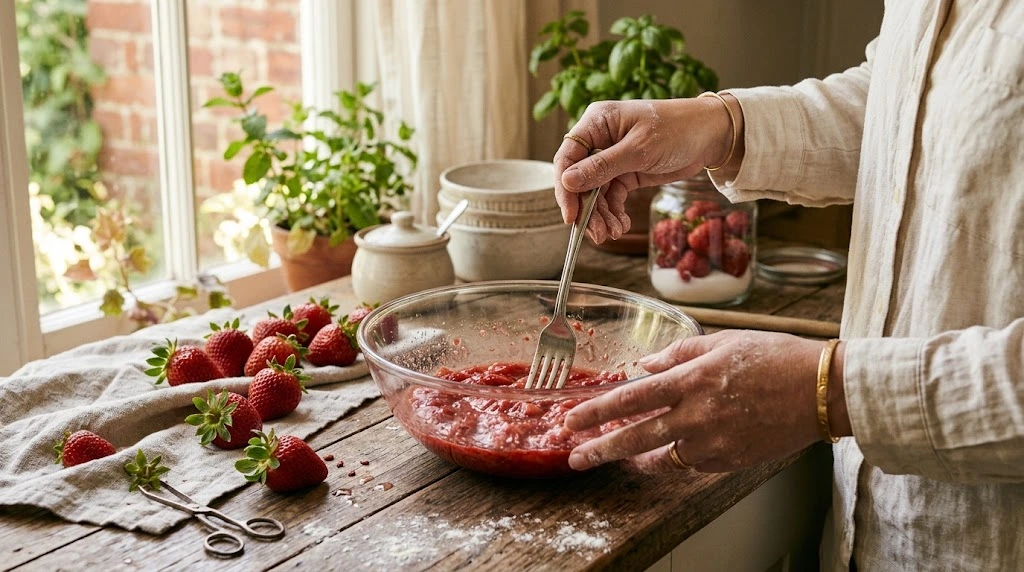
Gently mash the strawberries with a fork or potato masher. Leave a few small pieces for texture, or mash them more thoroughly if you prefer smoother strawberry ice cream.
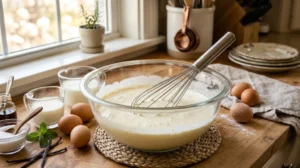
Step 4. Make the Ice Cream Base
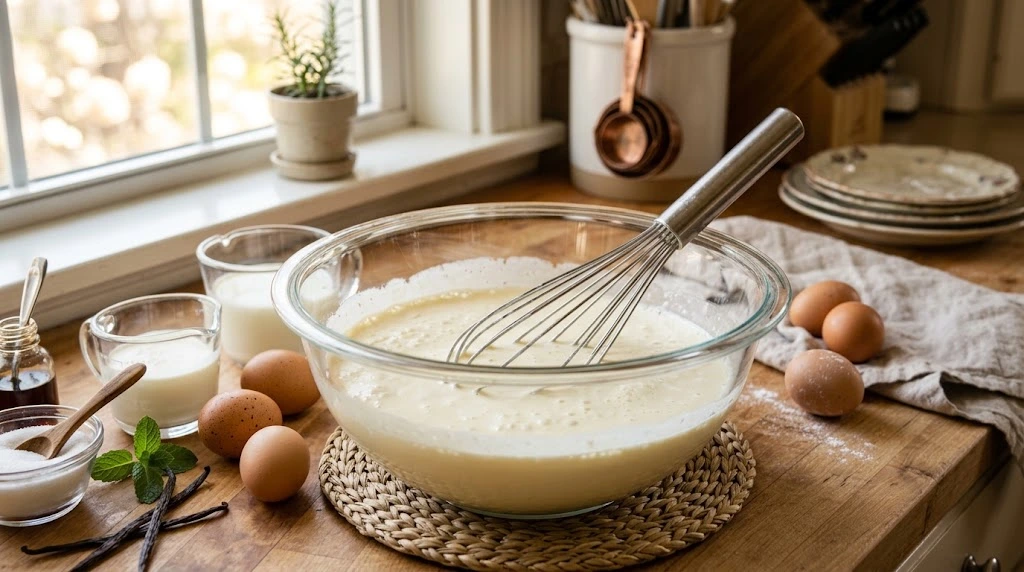
Whisk the remaining 1/2 cup sugar with the whole milk until mostly dissolved. Add the heavy cream, vanilla, and a pinch of salt, then gently stir everything together.
Step 5. Add the Strawberries
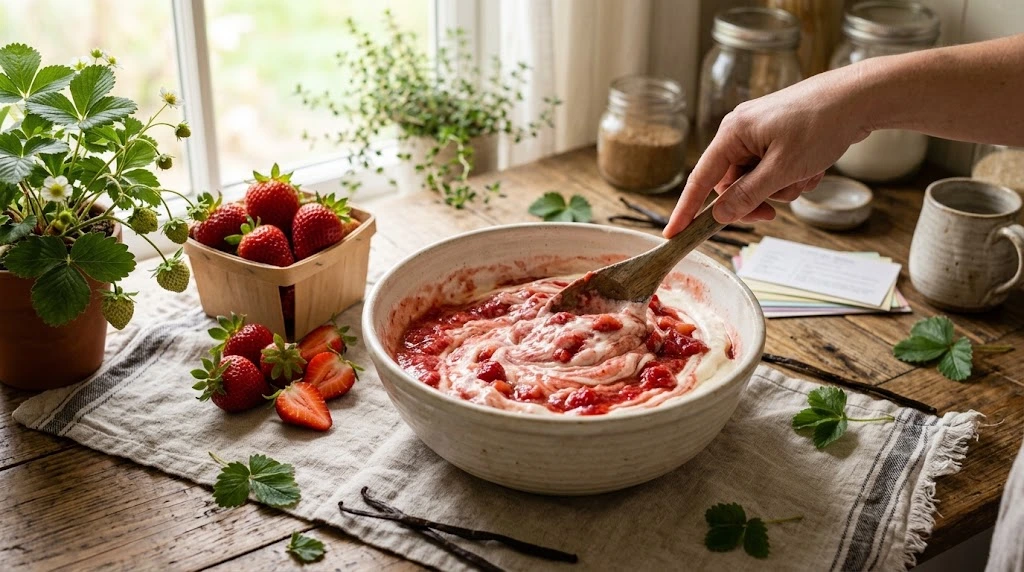
Stir the mashed strawberries and their juices into the cream mixture. Keeping the strawberry juice adds fresh berry flavor and gives the ice cream its naturally pretty pink color.
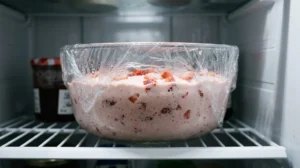
Step 6. Chill the Mixture
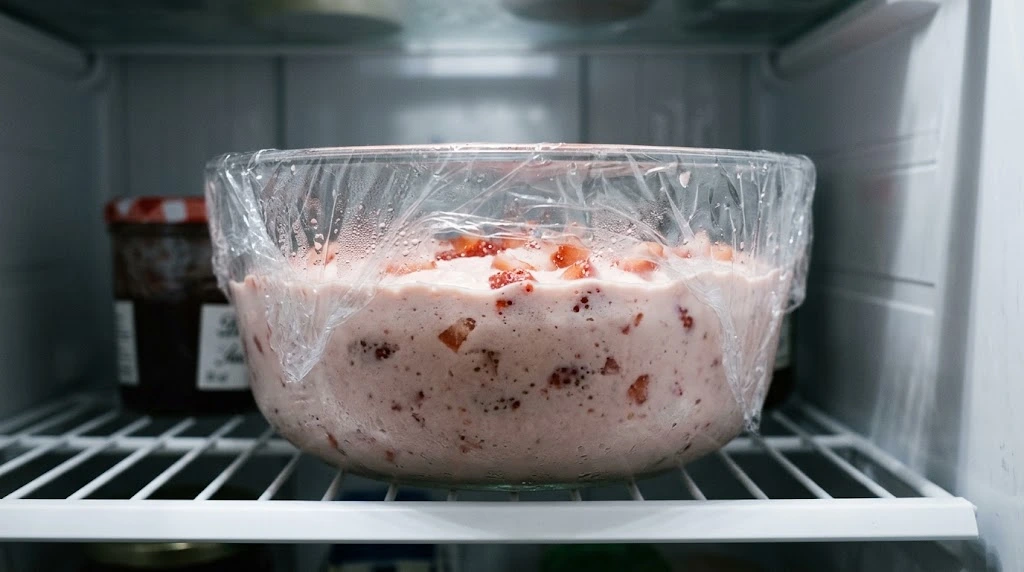
Cover and refrigerate the strawberry ice cream base for about 2 hours, or until thoroughly chilled. I’ve found that starting with a cold mixture helps it churn faster and gives it a smoother texture.
Step 7. Prepare the KitchenAid
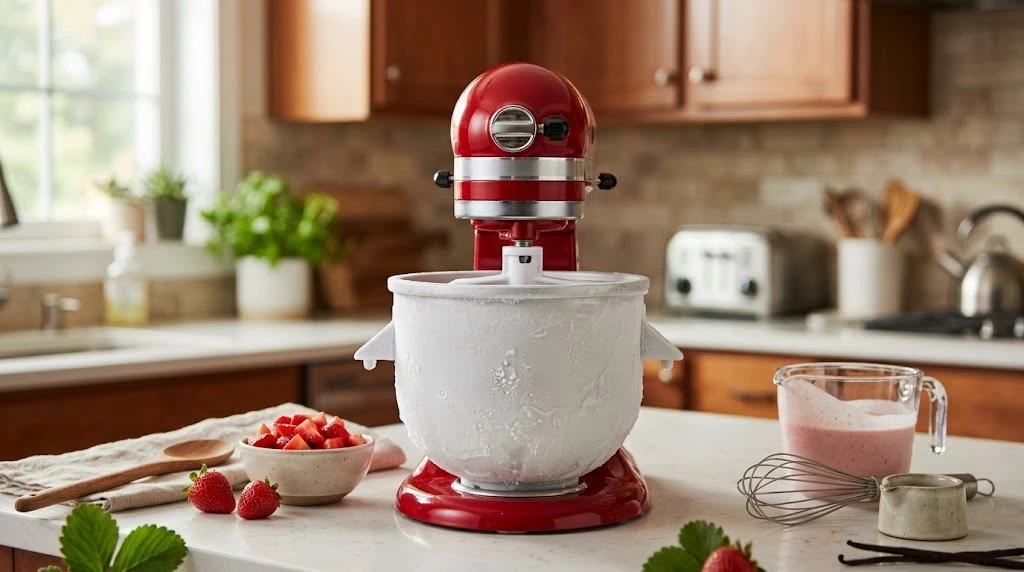
Attach the frozen ice cream bowl and dasher to your KitchenAid stand mixer according to your attachment instructions. Start the mixer at the recommended low speed before adding the mixture.
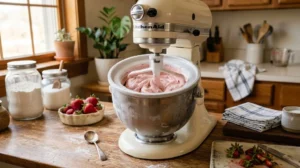
Step 8. Churn the Ice Cream
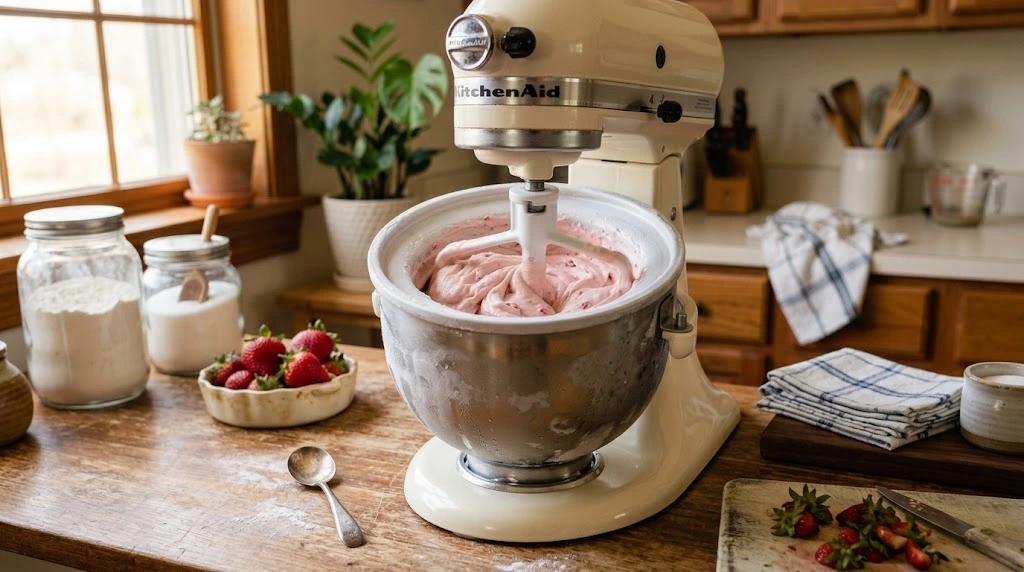
Slowly pour the chilled mixture into the running ice cream maker. Churn for about 20–25 minutes, or according to your attachment instructions, until thick and similar to soft-serve ice cream.
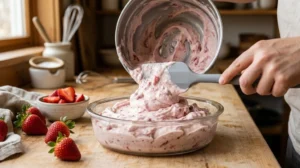
Step 9. Transfer to a Container
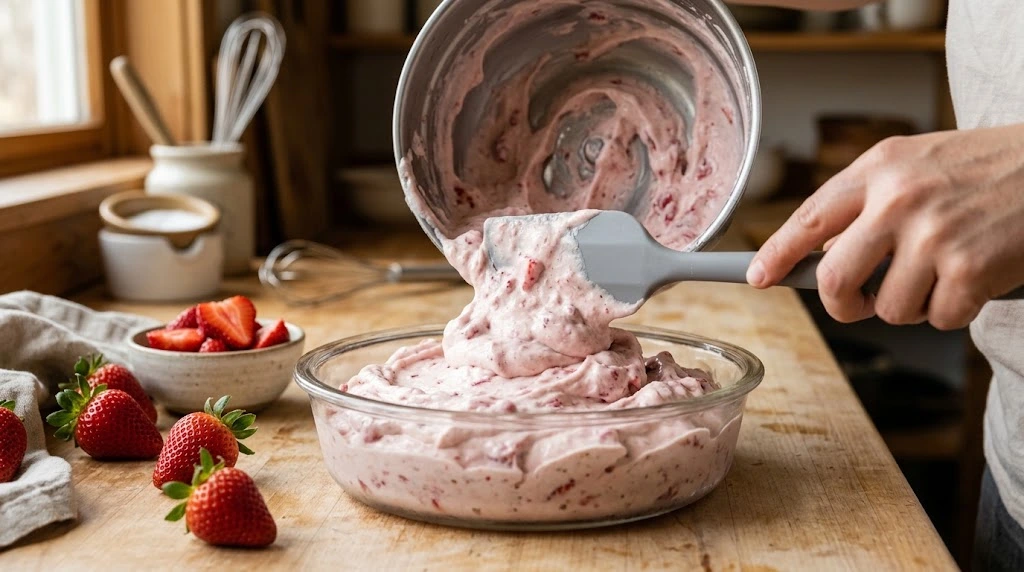
Spoon the churned strawberry ice cream into a freezer-safe container and smooth the top. You can enjoy it immediately for a soft-serve consistency or freeze it for firmer scoops.
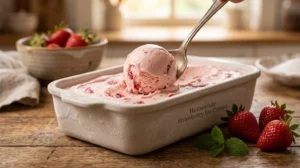
Step 10. Freeze Until Firm
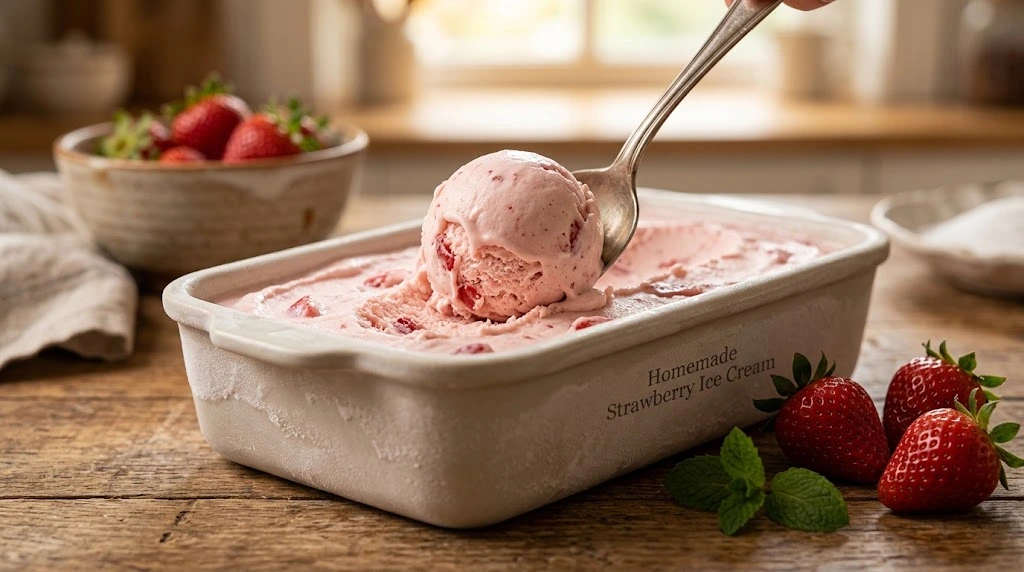
Cover tightly and freeze for 2–4 hours. If the ice cream becomes very firm overnight, let it sit at room temperature for 5–10 minutes before scooping.
What Is KitchenAid Strawberry Ice Cream?
KitchenAid strawberry ice cream is homemade ice cream made with fresh strawberries, cream, milk, sugar, and vanilla, then churned using a KitchenAid ice cream maker attachment.
The frozen bowl and dasher create a smooth, creamy texture while keeping the fresh strawberry flavor front and center. I especially like the small pieces of real berries throughout each scoop.
Why this version is stronger: it answers the heading immediately, naturally uses related terms like homemade ice cream, KitchenAid ice cream maker attachment, fresh strawberries, and creamy texture, and avoids unnecessary repetition.
Why You’ll Love This Recipe
This homemade strawberry ice cream is creamy, fresh, and made without eggs or a complicated custard base. The KitchenAid ice cream maker handles the churning, so the process stays simple.
Fresh strawberries bring natural berry flavor, while heavy cream creates a smooth, rich texture. I especially love making a batch when strawberries are in season they make every scoop taste noticeably fresher.
This is stronger than the original for a recipe article because it quickly tells readers the main benefits: no eggs, no custard, fresh strawberries, creamy texture, and simple KitchenAid churning.
Pro Tips
- Use ripe strawberries. Sweet, fragrant berries give homemade strawberry ice cream the best natural flavor.
- Keep everything cold. Freeze the KitchenAid bowl completely and thoroughly chill the ice cream mixture before churning.
- Leave some berry pieces. Gently mash the strawberries instead of completely pureeing them for a little fresh fruit texture.
- Use the recommended mixer speed. Follow your KitchenAid ice cream maker instructions for the correct setting and churning time.
- Expect soft ice cream at first. Freshly churned ice cream has a soft-serve texture. Freeze it for 2–4 hours for firmer scoops.
- Let frozen ice cream soften. If it’s very firm, leave it at room temperature for 5–10 minutes before scooping.
Ingredient Substitutions
A few simple substitutions work well if you’re missing an ingredient. Just remember that changing the dairy can affect how creamy the finished strawberry ice cream turns out.
- Frozen strawberries: Use thawed frozen strawberries instead of fresh. Drain excess liquid, but keep some juice for extra berry flavor.
- Half-and-half: Replace part of the heavy cream with half-and-half for a lighter ice cream with slightly less richness.
- 2% milk: Use it in place of whole milk if needed. Keep the heavy cream, though, to help prevent an icy texture.
- Strawberry extract: Add a small amount when your berries lack flavor. Start with just a few drops so it doesn’t overpower the fresh strawberries.
- Vanilla bean paste: Substitute it 1:1 for vanilla extract. It adds a rich vanilla flavor along with those pretty little vanilla specks.
Easy Variations
Once you’ve made the basic strawberry ice cream, try one of these simple variations. I like adding just one extra flavor at a time so the fresh strawberries still stand out.
- Strawberry cheesecake: Fold in small cream cheese pieces and crushed graham crackers after churning for a cheesecake-style flavor.
- Strawberry chocolate chip: Add 1/2 cup mini chocolate chips during the last few minutes of churning. Dark chocolate pairs especially well with strawberries.
- Strawberry shortcake: Fold crushed shortbread cookies into the churned ice cream just before freezing to add a buttery crunch.
- Strawberry banana: Mash one small ripe banana with the strawberries. Since banana adds natural sweetness, you can slightly reduce the sugar if needed.
- Mixed berry: Replace half the strawberries with raspberries or blueberries for a colorful mixed berry ice cream.
- If you love experimenting with homemade frozen desserts, you might also enjoy my Ninja Creami Frozen Hot Chocolate Ice Cream for another rich and creamy treat.
Common Mistakes
Homemade ice cream is forgiving, but a few small mistakes can affect its texture. I’ve learned that keeping the bowl and mixture properly chilled makes the biggest difference.
- Using a partially frozen bowl: Make sure the KitchenAid freezer bowl is completely frozen before churning. If you hear liquid sloshing inside, freeze it longer.
- Using a warm ice cream base: Chill the strawberry mixture thoroughly before churning. A cold base freezes faster and creates a smoother texture.
- Overfilling the bowl: Leave enough space for the ice cream to expand and move freely as it churns.
- Using large strawberry pieces: Chop or mash the berries into small pieces. Large chunks can become very hard once frozen.
- Reducing too much sugar: Sugar affects both sweetness and texture. Cutting it too much can make homemade ice cream harder and icier.
- Expecting firm ice cream immediately: Freshly churned ice cream should have a soft-serve consistency. Freeze it for 2–4 hours if you want firmer, scoopable ice cream.
Serving Suggestions
I love this strawberry ice cream straight from the freezer, but a few simple toppings and desserts make it even better.
- Serve in waffle cones with sliced fresh strawberries.
- Spoon over warm brownies for a rich hot-and-cold dessert.
- Top with crushed graham crackers or shortbread cookies for extra crunch.
- Drizzle with dark chocolate or homemade chocolate sauce.
- Make a strawberry sundae with whipped cream, fresh berries, and toasted almonds.
- Sandwich a scoop between two sugar cookies for homemade ice cream sandwiches.
Storage Tips
Homemade strawberry ice cream is best stored in a shallow, airtight freezer-safe container. Proper storage helps maintain its creamy texture and reduces ice crystals.
- Use an airtight container: Seal the container tightly to reduce air exposure and protect the ice cream from freezer odors.
- Store it in the back: Keep the ice cream toward the back of the freezer, where the temperature stays more consistent than near the door.
- Prevent ice crystals: Press parchment paper directly against the surface before adding the lid to help reduce ice crystal formation.
- Enjoy within 1–2 weeks: Homemade strawberry ice cream has the best flavor and texture when enjoyed within about two weeks.
- Soften before serving: Let firm ice cream sit at room temperature for 5–10 minutes before scooping. Avoid microwaving the whole container.
Nutrition Facts
Nutrition values are approximate and may vary depending on the ingredients, brands, and serving size used.
| Nutrient | Amount |
|---|---|
| Calories | 300 kcal |
| Total Fat | 22 g |
| Saturated Fat | 14 g |
| Cholesterol | 70 mg |
| Sodium | 45 mg |
| Total Carbohydrates | 25 g |
| Dietary Fiber | 1 g |
| Total Sugars | 22 g |
| Protein | 3 g |
| Calcium | 90 mg |
| Vitamin C | 22 mg |
Health Benefits & Taste
This homemade strawberry ice cream is a rich dessert, but fresh strawberries add vitamin C, antioxidants, and a small amount of fiber.
The heavy cream creates a smooth, creamy texture, while ripe strawberries add natural sweetness and a slightly tart, fresh berry flavor. I especially enjoy it during strawberry season, when the fruit is at its sweetest.For another refreshing way to use strawberries, try my Strawberry Smoothie Recipe, especially when fresh berries are in season.
Personal Experience
The first time I made this strawberry ice cream, I didn’t freeze the KitchenAid bowl long enough. After 20 minutes of churning, I had something closer to strawberry cream than ice cream.
Freezing the bowl overnight and thoroughly chilling the base made a big difference. The ice cream churned thicker and smoother, with small strawberry pieces throughout.Now I make it when strawberries are at their sweetest, and I still think that first soft spoonful straight from the dasher is the best part.
KitchenAid Strawberry Ice Cream Recipe
Equipment
- KitchenAid stand mixer
- KitchenAid ice cream maker attachment
- Medium mixing bowl
- Measuring cups and spoons
- Cutting board
- Sharp paring knife
- Fork or potato masher
- Whisk
- Rubber spatula
- Freezer-safe ice cream container
Ingredients
- 2 cups fresh strawberries hulled and chopped
- 3/4 cup granulated sugar divided
- 1 tablespoon fresh lemon juice
- 2 cups heavy whipping cream
- 1 cup whole milk
- 1 teaspoon pure vanilla extract
- 1 small pinch fine salt
Instructions
Step 1. Freeze the KitchenAid Bowl
- Freeze the KitchenAid ice cream bowl for at least 15 hours, preferably overnight. The bowl should be completely frozen before you begin, or the ice cream may not thicken properly during churning.
Step 2. Prepare the Strawberries
- Combine the chopped strawberries with 1/4 cup sugar and lemon juice. Stir well and let them sit for 20–30 minutes, allowing the berries to soften and release their natural juices.
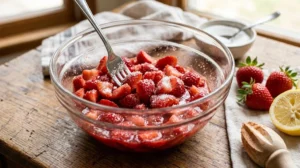
Step 3.Mash the Strawberries
- Gently mash the strawberries with a fork or potato masher. Leave a few small pieces for texture, or mash them more thoroughly if you prefer smoother strawberry ice cream.

Step 4.Make the Ice Cream Base
- Whisk the remaining 1/2 cup sugar with the whole milk until mostly dissolved. Add the heavy cream, vanilla, and a pinch of salt, then gently stir everything together.
Step 5.Add the Strawberries
- Stir the mashed strawberries and their juices into the cream mixture. Keeping the strawberry juice adds fresh berry flavor and gives the ice cream its naturally pretty pink color.

Step 6.Chill the Mixture
- Cover and refrigerate the strawberry ice cream base for about 2 hours, or until thoroughly chilled. I’ve found that starting with a cold mixture helps it churn faster and gives it a smoother texture.
Step 7.Prepare the KitchenAid
- Attach the frozen ice cream bowl and dasher to your KitchenAid stand mixer according to your attachment instructions. Start the mixer at the recommended low speed before adding the mixture.

Step 8.Churn the Ice Cream
- Slowly pour the chilled mixture into the running ice cream maker. Churn for about 20–25 minutes, or according to your attachment instructions, until thick and similar to soft-serve ice cream.
Step 9.Transfer to a Container
- Spoon the churned strawberry ice cream into a freezer-safe container and smooth the top. You can enjoy it immediately for a soft-serve consistency or freeze it for firmer scoops.
Step 10.Freeze Until Firm
- Cover tightly and freeze for 2–4 hours. If the ice cream becomes very firm overnight, let it sit at room temperature for 5–10 minutes before scooping.
Video
Notes
FAQs
Can I use frozen strawberries instead of fresh?
Yes. Thaw frozen strawberries first and drain excess liquid. Fresh strawberries usually provide brighter flavor, but frozen berries work well when fresh ones aren’t in season.
How long should I freeze the KitchenAid ice cream bowl?
Freeze the KitchenAid ice cream bowl for at least 15 hours, or according to your attachment instructions. I prefer freezing it overnight to make sure it’s completely solid.
Why isn’t my strawberry ice cream getting thick?
The bowl or ice cream base may not be cold enough. Make sure the freezer bowl is completely frozen and thoroughly chill the mixture before churning.
Can I make strawberry ice cream without heavy cream?
You can replace some heavy cream with half-and-half for a lighter texture. I wouldn’t replace all of it, since the cream helps create a rich, smooth consistency.
How long should I churn KitchenAid ice cream?
Churning usually takes about 20–25 minutes, depending on your KitchenAid attachment. It’s ready when the mixture becomes thick and reaches a soft-serve consistency.
Can I reduce the sugar?
Yes, you can reduce the sugar slightly if your strawberries are very sweet. Avoid reducing it too much because sugar helps keep homemade ice cream soft and scoop able.
How do I prevent homemade strawberry ice cream from getting icy?
Start with a cold base and fully frozen bowl, then store the finished ice cream in an airtight container. Pressing parchment against the surface can also help reduce ice crystals.
Conclusion
This KitchenAid Strawberry Ice Cream Recipe is a simple way to turn ripe strawberries into rich, creamy homemade ice cream. The fresh berry flavor and smooth texture make it one of my favorite summer desserts.Just remember to freeze the KitchenAid bowl overnight and thoroughly chill the mixture before churning. Those two little steps make a big difference in the final texture.