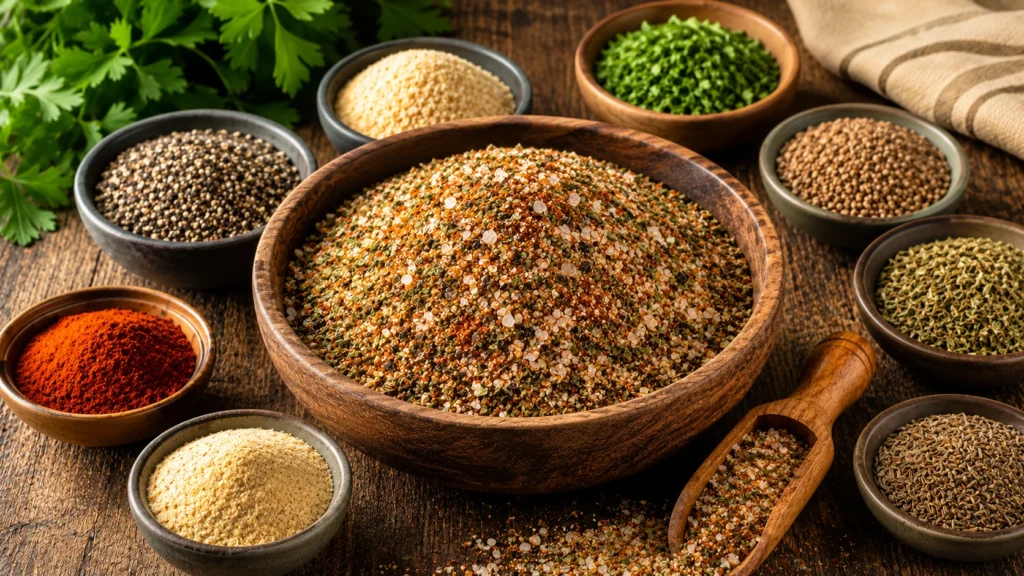
Some recipes quietly earn a permanent spot in your kitchen, and this homemade Everglades seasoning recipe is one of them. It takes just a few minutes to mix, yet it transforms everything from grilled chicken to roasted vegetables with its savory, peppery flavor. I first started making my own blend after running out of my favorite store-bought bottle before a weekend cookout. After a little experimenting with pantry spices, I found a combination my family actually preferred. Now I always keep a fresh jar nearby because it disappears faster than I’d like to admit.
History of Everglades Seasoning
Everglades Seasoning has been a Florida favorite for decades, especially among hunters, anglers, backyard grillers, and home cooks who appreciate simple, bold flavors. The original blend became well known for its coarse texture and balanced combination of salt, garlic, pepper, and herbs that complement almost any protein.
While the original recipe remains proprietary, many home cooks have created their own versions using common pantry spices. That’s exactly what makes this homemade blend so enjoyable—you can capture the same all-purpose flavor while adjusting it to suit your own family’s taste.
Ingredients
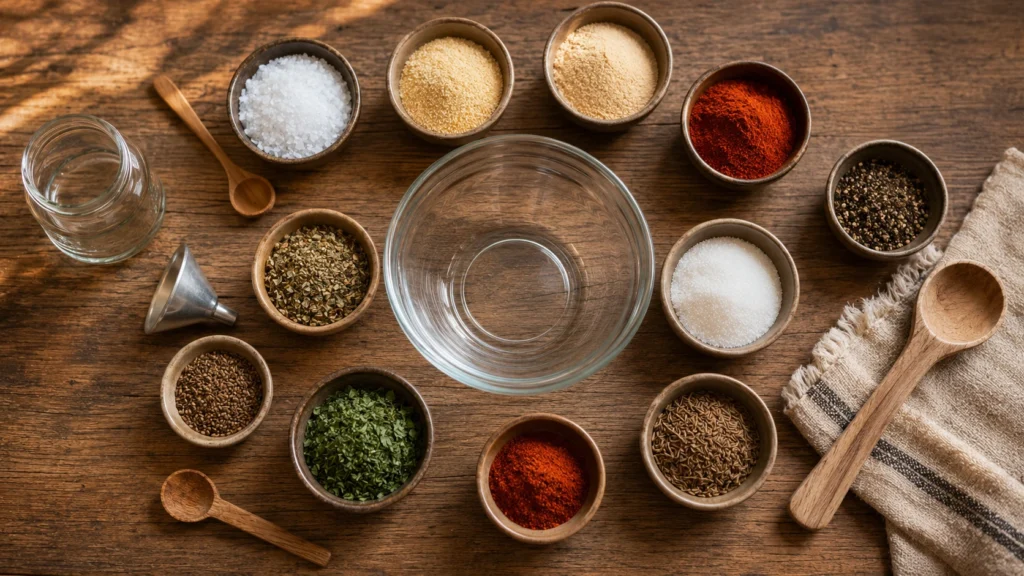
| Ingredient | Quantity |
|---|---|
| Coarse salt | 3 tablespoons |
| Garlic powder | 1 tablespoon |
| Onion powder | 1 tablespoon |
| Sweet paprika | 1 tablespoon |
| Freshly ground black pepper | 1 tablespoon |
| Granulated sugar | 1 tablespoon |
| Celery seed | 2 teaspoons |
| Dried parsley flakes | 2 teaspoons |
| Dried oregano | 1 teaspoon |
| Ground cumin | 1 teaspoon |
| Cayenne pepper (optional) | ½ teaspoon |
Equipment
- Small mixing bowl
- Measuring spoons
- Small whisk or spoon
- Airtight glass spice jar
- Funnel (optional)
- Label or masking tape
How to Make Everglades Seasoning Recipe
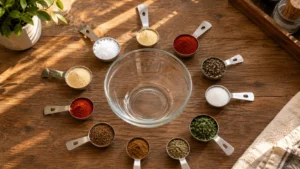
Step 1: Measure Every Spice Carefully
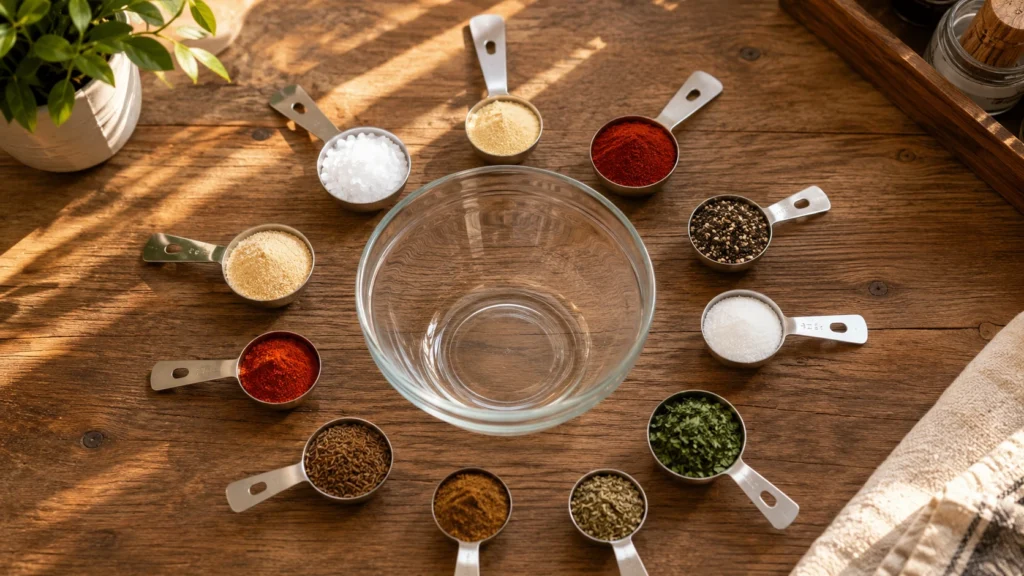
Gather all of your spices before you begin and measure each one into a small bowl. I like to double-check everything first because it’s much easier than trying to fix the blend after it’s mixed.
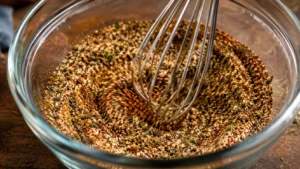
Step 2: Combine the Ingredients
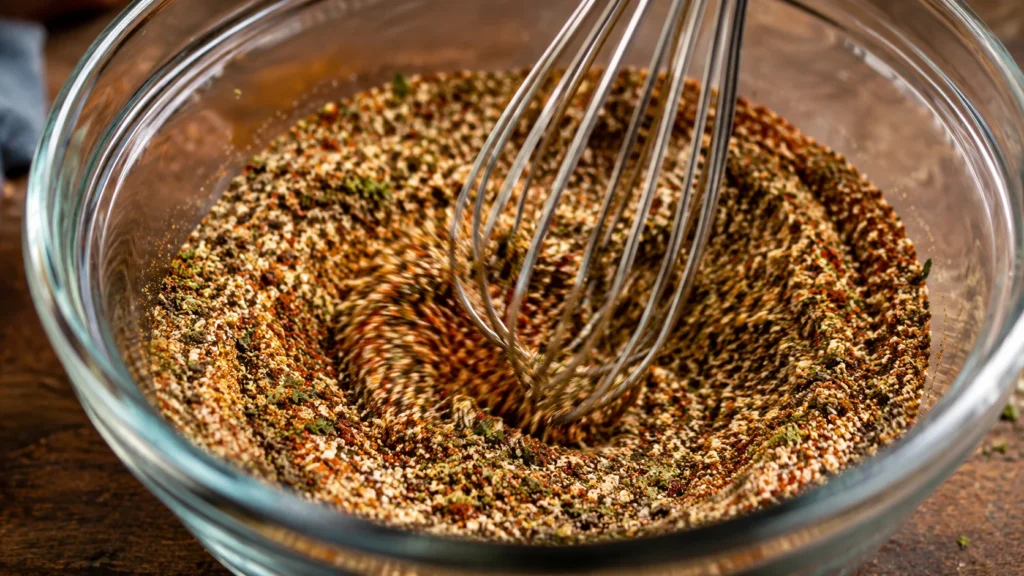
Pour all of the measured spices into the bowl. Use a small whisk or spoon to stir for about one to two minutes until every ingredient is evenly distributed. Don’t rush this step—the extra mixing really helps.
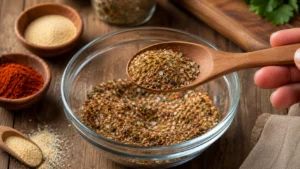
Step 3: Taste and Adjust
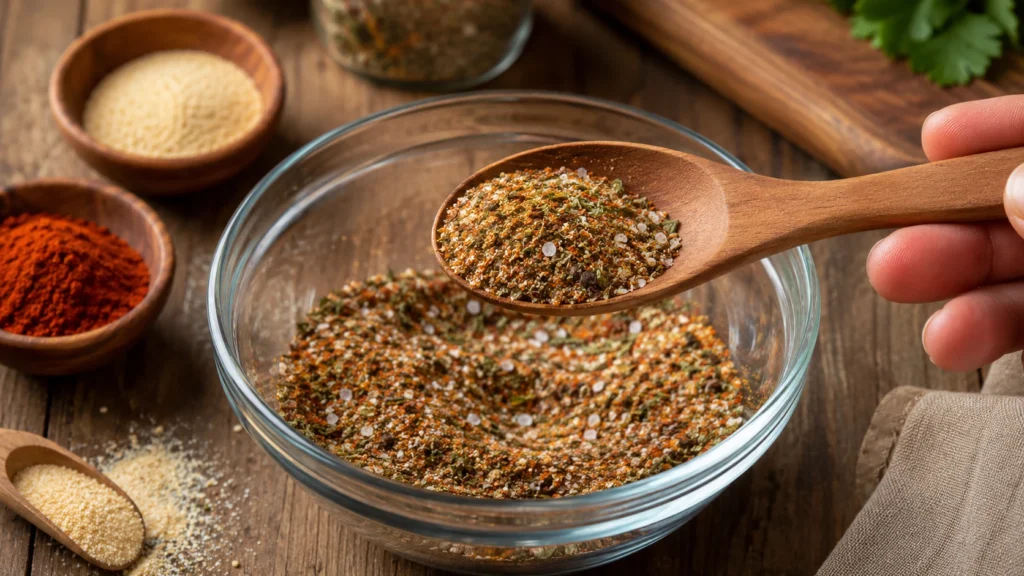
Dip a clean spoon into the seasoning and give it a quick taste. If you enjoy a little more heat, add another pinch of cayenne. If you’re a garlic fan like my family, a small extra sprinkle of garlic powder is always welcome.
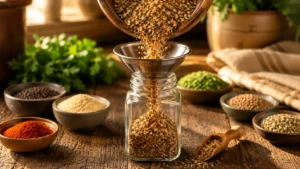
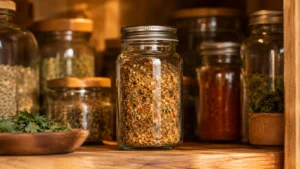
Step 4: Transfer to a Spice Jar
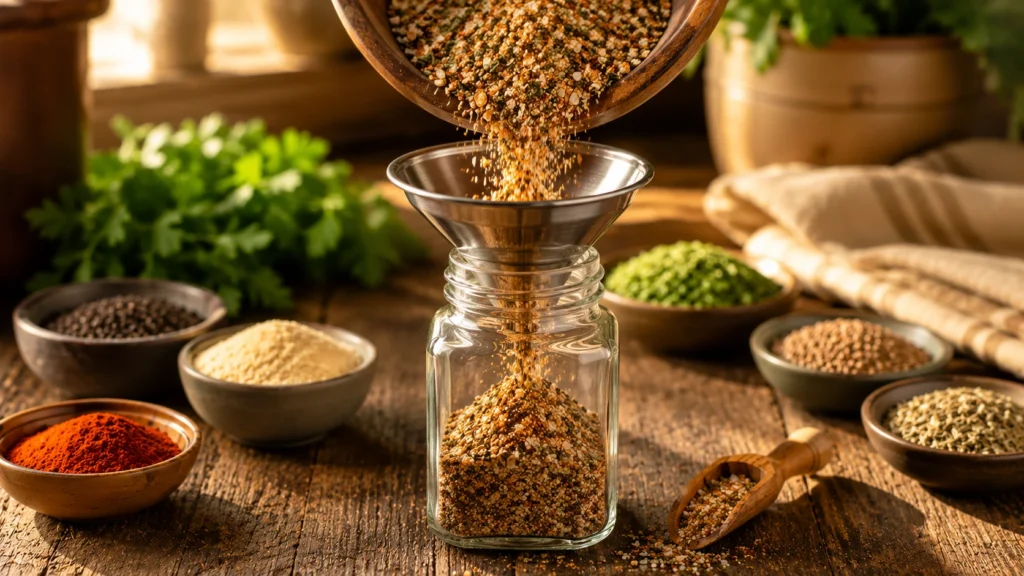
Use a funnel if you have one to pour the seasoning into a clean, dry glass jar. Keeping moisture out helps the blend stay fresh much longer.
Step 5: Let the Flavors Meld
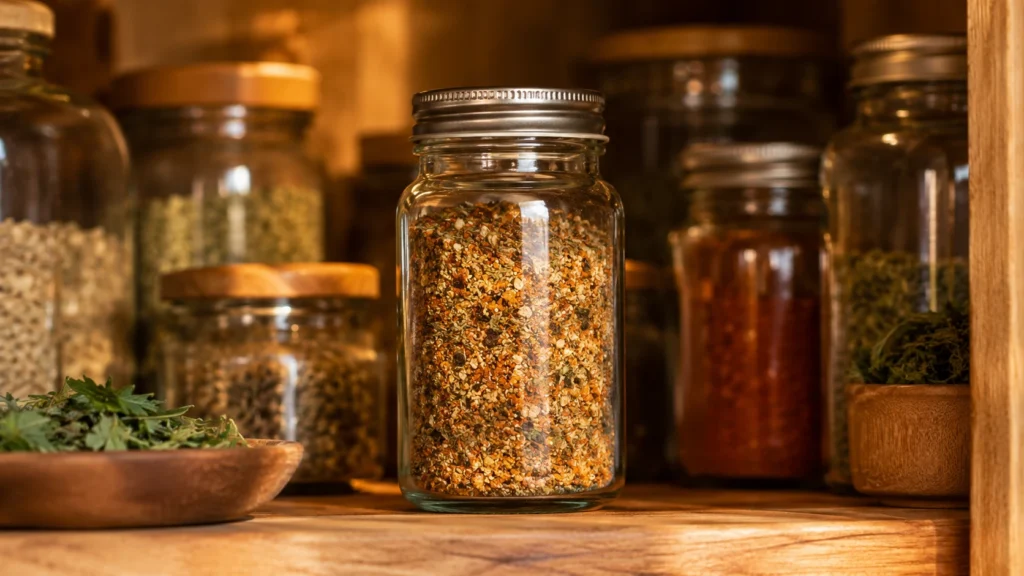
Although you can use it right away, I usually let the jar sit overnight in the pantry. By the next day, the spices seem to come together into a smoother, more balanced flavor.
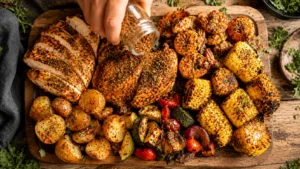
Step 6: Season Your Favorite Foods
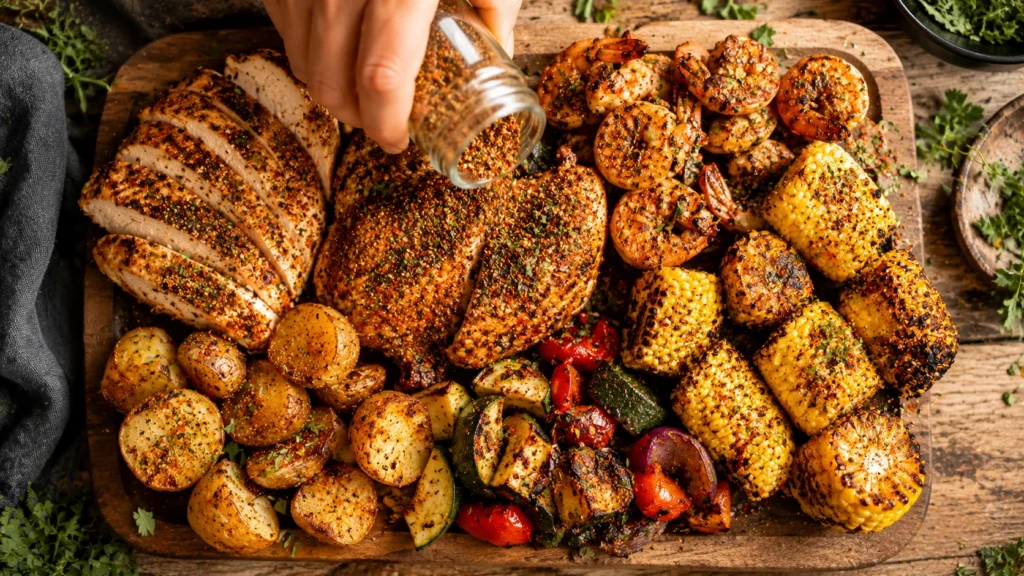
Sprinkle the seasoning over chicken, steak, seafood, burgers, potatoes, vegetables, fries, eggs, or even popcorn. Start with a light hand—you can always add more later.
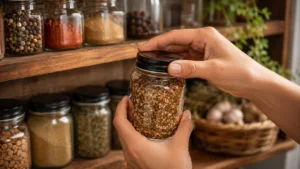
Step 7: Store Properly
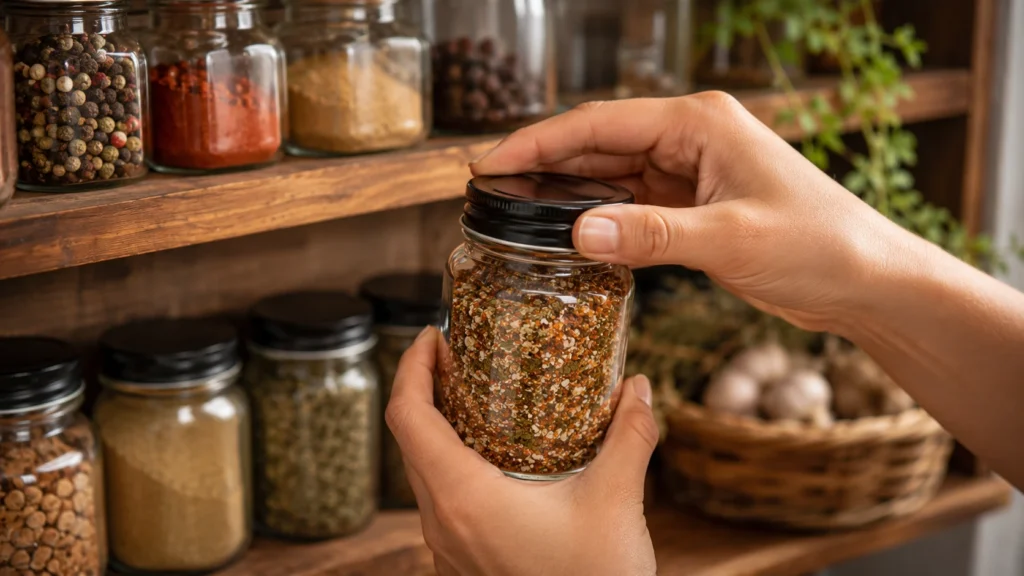
Seal the jar tightly after every use and keep it in a cool, dry pantry away from sunlight. I give mine a little shake before using since the heavier spices naturally settle over time.
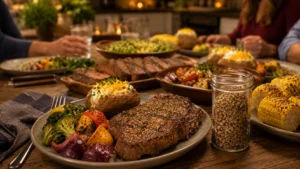
Step 8: Enjoy Whenever You Cook
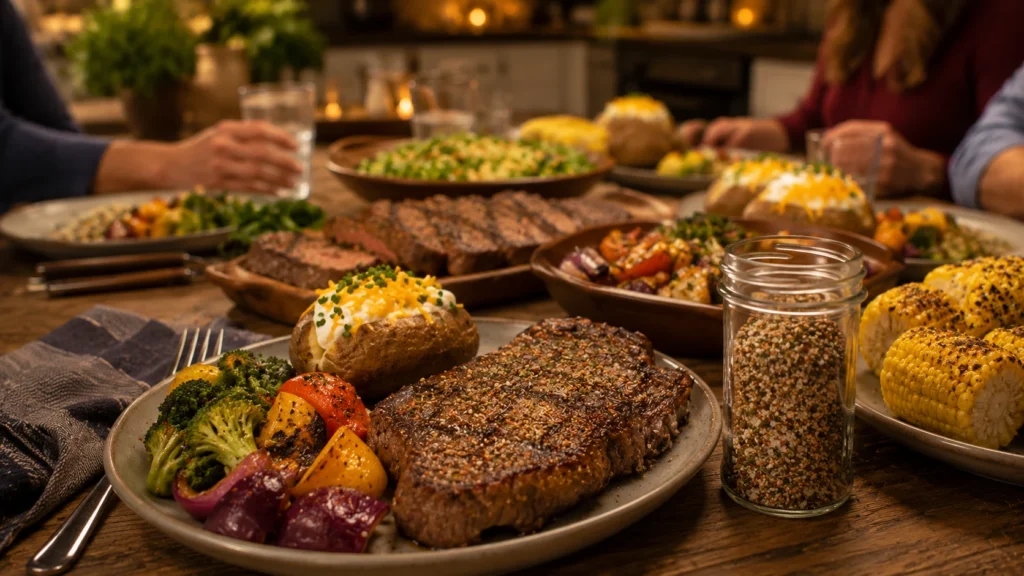
Now comes the fun part. Reach for this homemade blend whenever a meal needs a little extra flavor. It’s one of those seasonings that quietly makes everyday cooking taste just a bit more special without much effort.
What is Everglades seasoning recipe?
If you’ve ever visited Florida or chatted with someone who loves grilling, there’s a good chance you’ve heard about Everglades seasoning. It’s a classic all-purpose seasoning blend that’s famous for its coarse texture and savory flavor. The combination of salt, garlic, pepper, herbs, and a few pantry spices makes it incredibly versatile without overpowering the food.
What I enjoy most is how one simple seasoning can work on so many different meals. Whether I’m grilling burgers on a sunny weekend, roasting vegetables for dinner, or sprinkling a little over scrambled eggs on a lazy Sunday morning, this blend always seems to fit right in. It’s one of those pantry staples that quietly earns its place because it simply works.
Why You’ll Love This Recipe
Once you make a batch, you’ll probably find yourself reaching for it almost every day. It’s simple to mix together, keeps well in the pantry, and adds wonderful flavor without much effort.
Here are a few reasons it has become one of my favorite homemade seasonings:
- Made with everyday pantry spices.
- Ready in just five minutes.
- Great for chicken, beef, pork, seafood, and vegetables.
- Easy to customize to your family’s taste.
- Stores beautifully for several months.
- Costs much less than buying specialty seasoning blends.
Pro Tips
After making this seasoning countless times, I’ve learned a few little tricks that make a noticeable difference.
- Use fresh spices for the brightest flavor and aroma.
- Whisk the ingredients together for at least a full minute.
- Let the seasoning rest overnight before using if possible.
- Store it in a glass jar instead of plastic to help preserve freshness.
- Shake the jar before each use to redistribute the spices.
- Make a double batch if you grill often—it disappears surprisingly fast.
Recipe Card
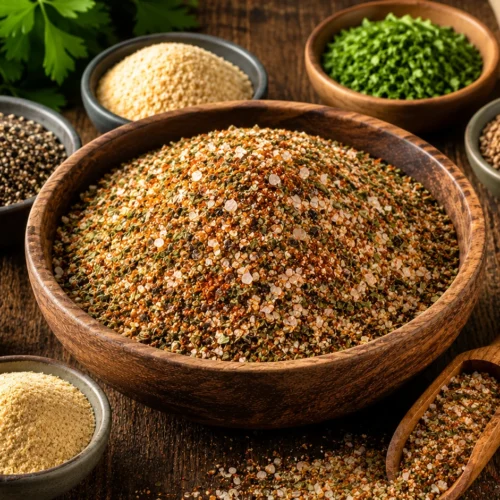
Everglades seasoning recipe
Equipment
- Small mixing bowl
- Measuring spoons
- Small whisk or spoon
- Airtight glass spice jar
- Funnel (optional)
- Label or masking tape
Ingredients
- Coarse salt – 3 tablespoons
- Garlic powder – 1 tablespoon
- Onion powder – 1 tablespoon
- Sweet paprika – 1 tablespoon
- Freshly ground black pepper – 1 tablespoon
- Granulated sugar – 1 tablespoon
- Celery seed – 2 teaspoons
- Dried parsley flakes – 2 teaspoons
- Dried oregano – 1 teaspoon
- Ground cumin – 1 teaspoon
- Cayenne pepper optional – ½ teaspoon
Instructions
Step 1: Measure Every Spice Carefully
- Gather all of your spices before you begin and measure each one into a small bowl. I like to double-check everything first because it’s much easier than trying to fix the blend after it’s mixed.Cooking & Recipes
Step 2: Combine the Ingredients
- Pour all of the measured spices into the bowl. Use a small whisk or spoon to stir for about one to two minutes until every ingredient is evenly distributed. Don’t rush this step—the extra mixing really helps.
Step 3: Taste and Adjust
- Dip a clean spoon into the seasoning and give it a quick taste. If you enjoy a little more heat, add another pinch of cayenne. If you’re a garlic fan like my family, a small extra sprinkle of garlic powder is always welcome.
Step 4: Transfer to a Spice Jar
- Use a funnel if you have one to pour the seasoning into a clean, dry glass jar. Keeping moisture out helps the blend stay fresh much longer.
Step 5: Let the Flavors Meld
- Although you can use it right away, I usually let the jar sit overnight in the pantry. By the next day, the spices seem to come together into a smoother, more balanced flavor.
Step 6: Season Your Favorite Foods
- Sprinkle the seasoning over chicken, steak, seafood, burgers, potatoes, vegetables, fries, eggs, or even popcorn. Start with a light hand—you can always add more later.
Step 7: Store Properly
- Seal the jar tightly after every use and keep it in a cool, dry pantry away from sunlight. I give mine a little shake before using since the heavier spices naturally settle over time.
Step 8: Enjoy Whenever You Cook
- Now comes the fun part. Reach for this homemade blend whenever a meal needs a little extra flavor. It’s one of those seasonings that quietly makes everyday cooking taste just a bit more special without much effort.
Notes
Ingredient Substitutions
One thing I appreciate about homemade seasoning blends is how easy they are to adjust based on what you already have in your pantry.
- Replace coarse salt with kosher salt.
- Swap sweet paprika for smoked paprika for a smoky flavor.
- Use white pepper instead of black pepper for a milder finish.
- Add dried thyme if you’re out of oregano.
- Skip the cayenne for a kid-friendly version.
- Reduce the sugar if you prefer a completely savory blend.
Easy Variations
This recipe is wonderfully flexible, and I like changing it up depending on what I’m cooking that week.
- Add extra cayenne for a spicy grilling blend.
- Mix in lemon pepper for seafood and chicken.
- Stir in smoked paprika for barbecue recipes.
- Add dried rosemary for roasted potatoes.
- Increase the garlic powder if you love bold garlic flavor.
- Blend in a teaspoon of chili powder for Tex-Mex dishes.
Common Mistakes
Even a simple seasoning blend can turn out better with a little attention to detail.
- Using spices that have been sitting in the cabinet for years.
- Not mixing thoroughly, leaving some bites saltier than others.
- Adding too much cayenne before tasting the blend.
- Storing the seasoning near the stove where heat and steam shorten its shelf life.
- Forgetting to label the jar with the preparation date.
- Leaving moisture inside the storage container before filling it.
Serving Suggestions
This seasoning has become one of the hardest-working jars in my kitchen because it complements so many meals.
- Sprinkle over grilled chicken breasts.
- Season steaks before grilling or pan-searing.
- Toss with roasted potatoes and olive oil.
- Add to scrambled eggs or omelets.
- Sprinkle over fresh popcorn with melted butter.
- Season shrimp before grilling.
- Mix into burger patties or meatloaf.
- Dust over roasted vegetables before serving.
Storage Tips
Store your homemade seasoning in an airtight glass jar in a cool, dry pantry away from direct sunlight. Properly stored, it stays at its best for about six months, although mine rarely lasts that long before I mix another batch.
I like to write the date on a small label attached to the jar so I always know when I made it. Every couple of weeks, I give the container a quick shake to keep the spices evenly blended. It’s a tiny habit, but it helps every spoonful taste just as balanced as the first.
Nutrition Facts
| Nutrient | Amount (Per 1 Teaspoon) |
|---|---|
| Calories | 8 |
| Total Fat | 0 g |
| Saturated Fat | 0 g |
| Cholesterol | 0 mg |
| Sodium | 540 mg |
| Total Carbohydrates | 1 g |
| Dietary Fiber | 0.3 g |
| Total Sugars | 0.2 g |
| Protein | 0.2 g |
| Vitamin A | 2% DV |
| Vitamin C | 1% DV |
| Calcium | 1% DV |
| Iron | 2% DV |
Nutrition values are approximate and may vary depending on the exact brands of spices used.
Health Benefits & Taste
One of my favorite things about making this seasoning at home is that I know exactly what’s in it. There are no mystery ingredients, and I can easily adjust the salt or spice level to suit my family’s preferences. It’s a simple pantry blend that lets real ingredients do all the work.
Flavor-wise, it strikes a wonderful balance between savory, peppery, garlicky, and slightly herby. The paprika adds a gentle warmth, while the celery seed gives it that distinctive all-purpose seasoning character. It isn’t overpowering, which is why it works so well on everything from grilled meats to roasted vegetables and even fresh popcorn.
Also Read: Easy Mocktail Recipes: 12 Refreshing Drinks for All
Personal Experience
This seasoning has become one of those little recipes I never have to look up anymore because I’ve made it so many times. There’s almost always a small glass jar sitting next to my stove, ready for busy weeknight dinners or weekend barbecues.
I still remember serving grilled chicken with this homemade blend at a family cookout after I’d quietly replaced the store-bought seasoning. Nobody noticed the switch until I mentioned it later, and everyone agreed they actually liked the homemade version better. Moments like that remind me that sometimes the simplest recipes become the ones you treasure most.
Frequently Asked Questions
Can I make this seasoning ahead of time?
Absolutely. In fact, I recommend making it a day ahead if possible. Giving the spices a little time to mingle creates a smoother, more balanced flavor.
How long does homemade seasoning stay fresh?
When stored in an airtight container in a cool, dry pantry, it stays at its best for about six months. After that, it’s still safe to use, but the spices gradually lose their potency.
Is this seasoning spicy?
Not really. It has a mild peppery warmth rather than noticeable heat. If you prefer a spicier blend, simply increase the cayenne pepper to your liking.
What foods can I use it on?
This seasoning is incredibly versatile. Try it on chicken, steak, pork chops, seafood, burgers, roasted vegetables, potatoes, fries, eggs, popcorn, or even sprinkled over avocado toast.
Can I reduce the salt?
Yes. One of the biggest benefits of making your own seasoning is that you control every ingredient. Feel free to reduce the salt and increase the herbs or spices to suit your taste.
Does this recipe make a good gift?
It certainly does. Pour the seasoning into a small mason jar, add a handwritten label, and tie on a ribbon. It’s an inexpensive homemade gift that’s always appreciated by friends and family who enjoy cooking.
Do I need a spice grinder?
No. Since this recipe uses pre-ground spices and dried herbs, all you need is a bowl and a whisk or spoon to mix everything together.
Conclusion
This homemade Everglades seasoning recipe is proof that a handful of everyday pantry spices can create something truly useful. It’s simple to prepare, easy to customize, and versatile enough to become part of your everyday cooking routine. Whether you’re grilling burgers on a summer afternoon, roasting vegetables for a quick weeknight dinner, or seasoning a batch of crispy potatoes, this blend adds just the right amount of savory flavor without much effort. I love knowing there’s always a fresh jar waiting in my pantry whenever a meal needs a little boost.