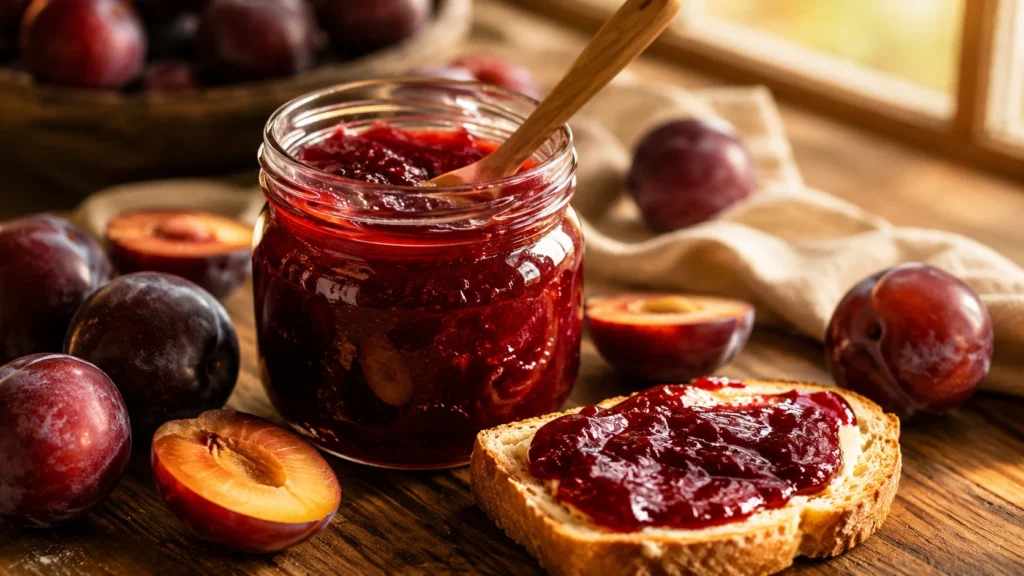
There’s something about late summer plums that makes them beg to be turned into jam. This is my own kitchen take on a plum jam recipe Jamie Oliver fans often search for. It’s simple, honest, and comes together in one pot without much fuss. You get that deep ruby color you want on your morning toast, along with a sweet-tart flavor that store-bought versions just can’t match. Once you try it fresh off the stove, you’ll understand why this one’s worth making every summer.
HISTORY Of Plum Jam Recipe Jamie Oliver
Plum jam has been around in English and European kitchens for centuries, long before Jamie Oliver ever put his own spin on it. Families used to make big batches at the end of summer just to save the harvest before the cold months hit. My own grandmother did the same thing with her backyard plum tree, filling her pantry shelf with jars that lasted well into winter. There’s something comforting about knowing this jam has fed families for generations. It’s one of those recipes that never really goes out of style.
INGREDIENTS
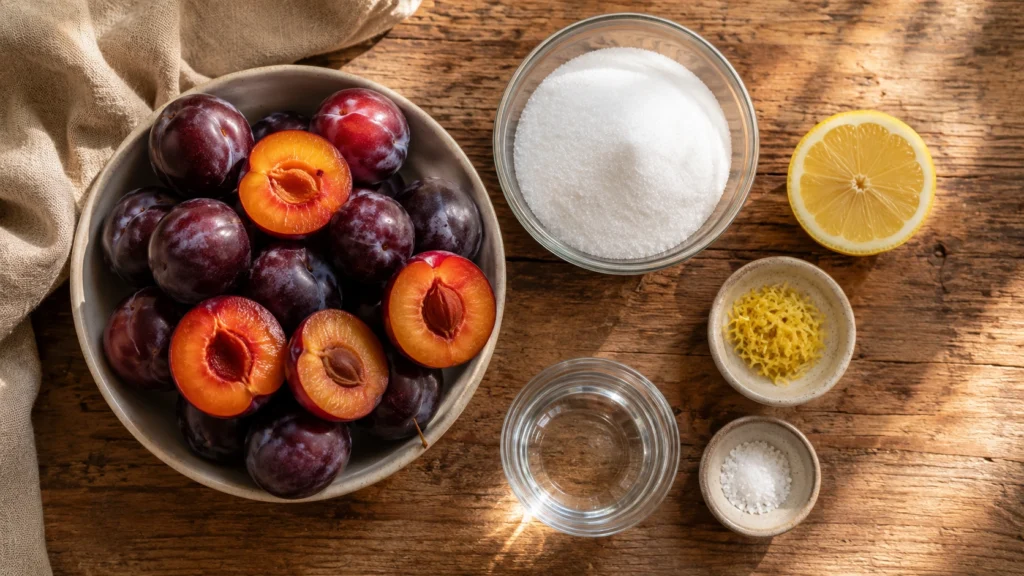
| Ingredient | Quantity |
|---|---|
| Ripe plums, pitted and chopped | 2 lbs (about 6-7 cups) |
| Granulated sugar | 3 cups |
| Fresh lemon juice | 3 tablespoons |
| Lemon zest | 1 teaspoon |
| Water | 1/4 cup |
| Pinch of salt | 1 pinch |
EQUIPMENT
- Large heavy-bottomed pot
- Wooden spoon
- Small plate (chilled, for the jam test)
- Ladle
- 4 clean glass jars with lids
- Potato masher (optional)
How to Make Plum Jam Recipe Jamie Oliver
Step 1: Prep Your Plums
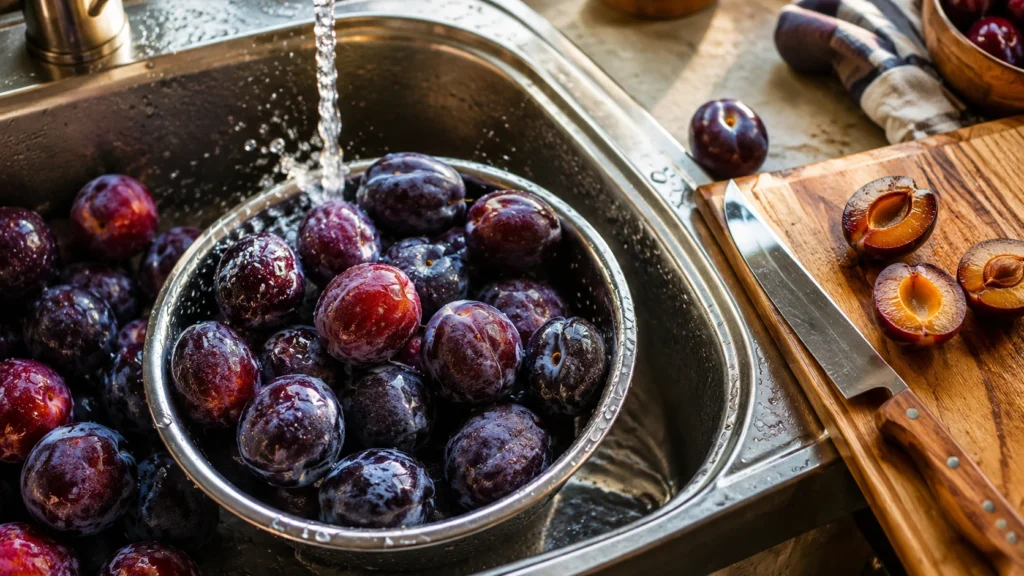
Wash your plums well, then slice them in half and pull out the pits. Chop the flesh into small chunks, skin and all. Don’t worry about being too precise here; it’ll all break down
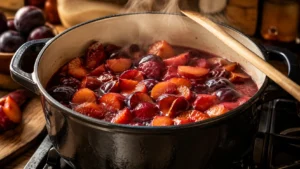
Step 2: Start the Simmer
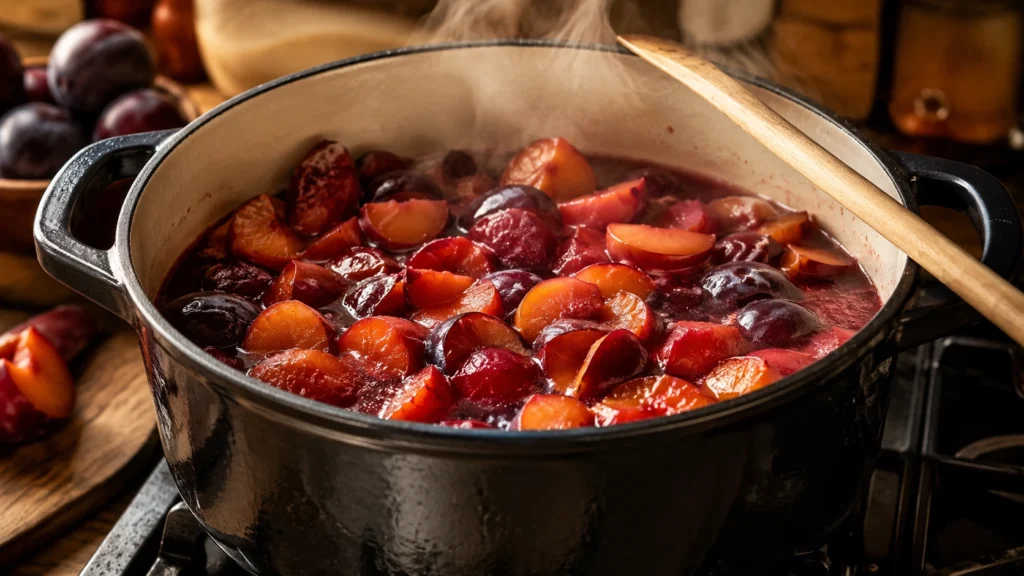
Add your chopped plums and water to your big pot over medium heat. Let them soften for about 10 minutes, stirring now and then so nothing sticks to the bottom.
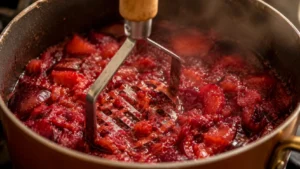
Step 3: Mash It Down
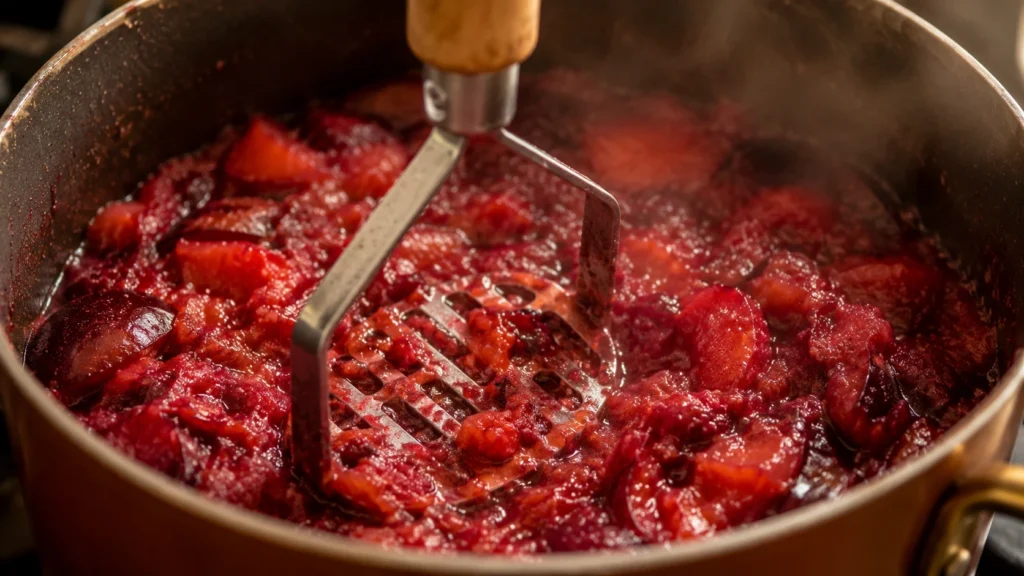
Once the plums are soft, give them a rough mash right in the pot. You want some texture left, not a smooth puree, so don’t go overboard.
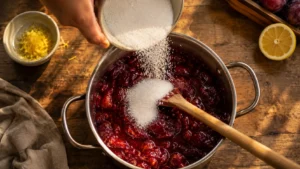
Step 4: Add Sugar and Lemon
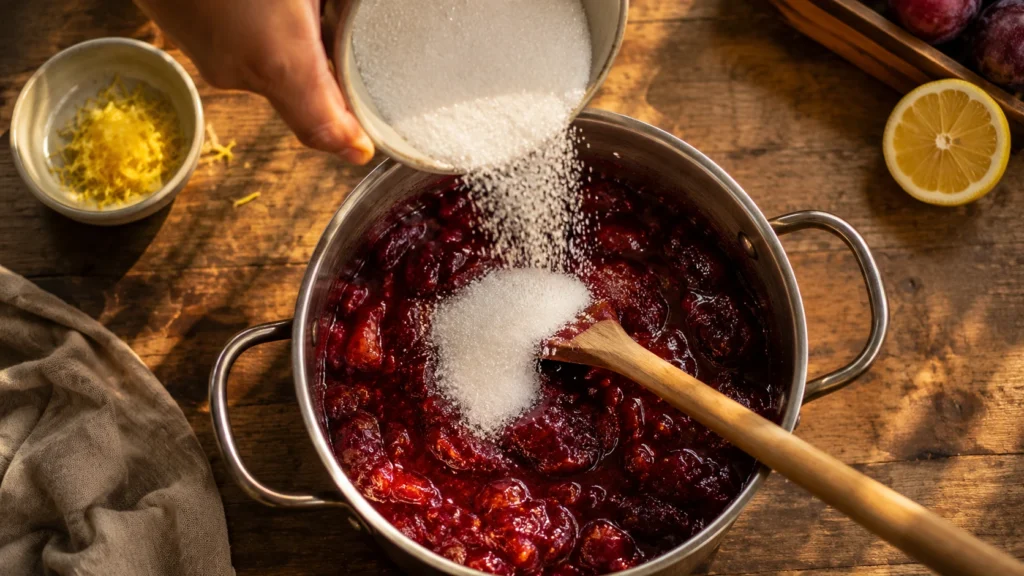
Stir in the sugar, lemon juice, lemon zest, and that little pinch of salt. Keep stirring until the sugar fully dissolves into the fruit.
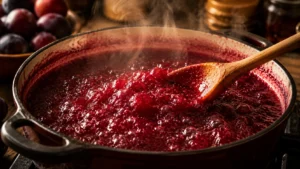
Step 5: Boil It Up
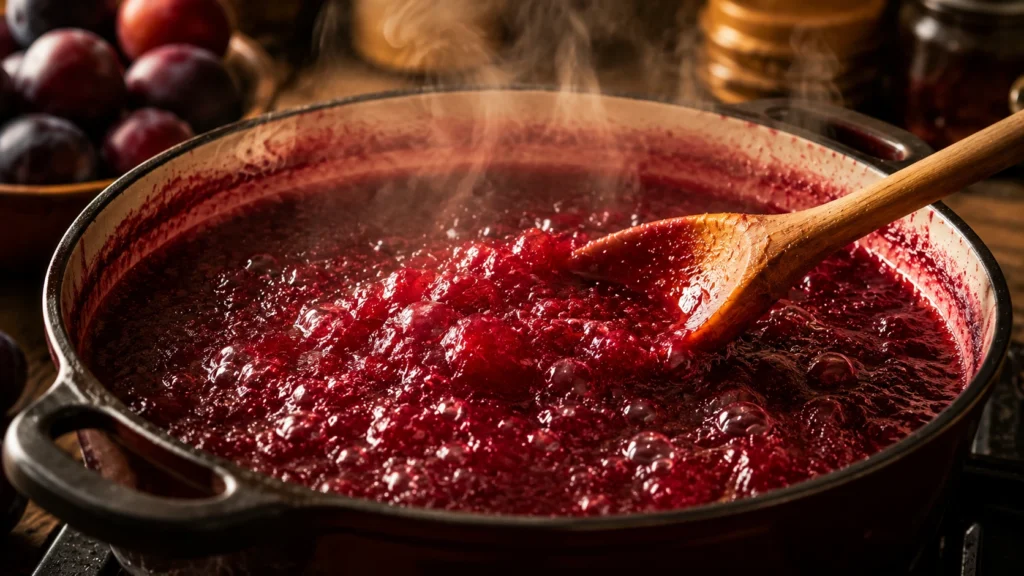
Turn the heat up to medium-high and bring everything to a rolling boil. Stir often here, this is the stage where it likes to bubble up fast.
Step 6: Test for Set
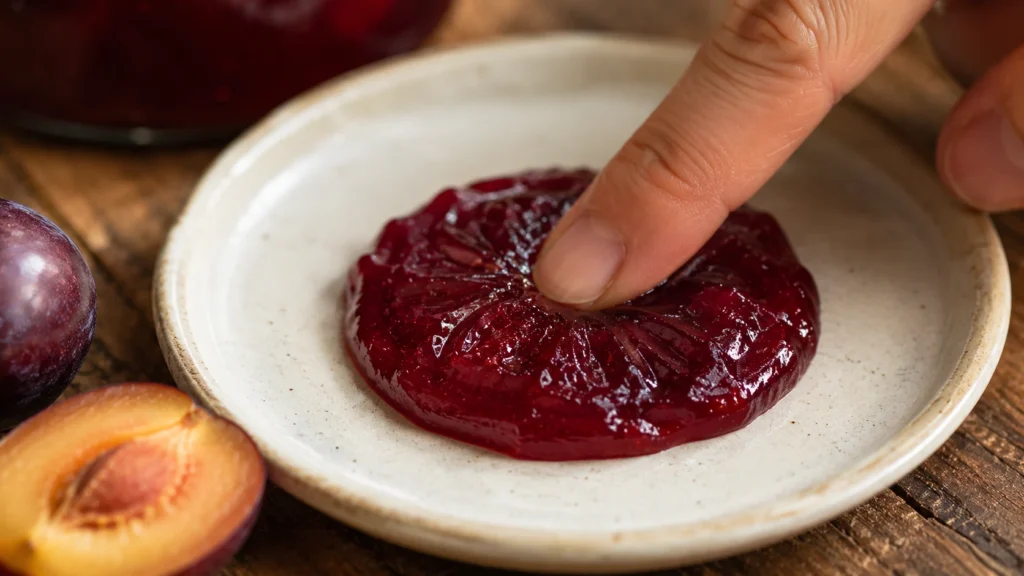
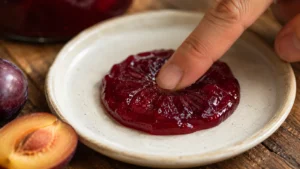
After about 20-25 minutes, drop a small spoonful onto your chilled plate. Push it with your finger, if it wrinkles and holds its shape, it’s ready.
Step 7: Jar It Up
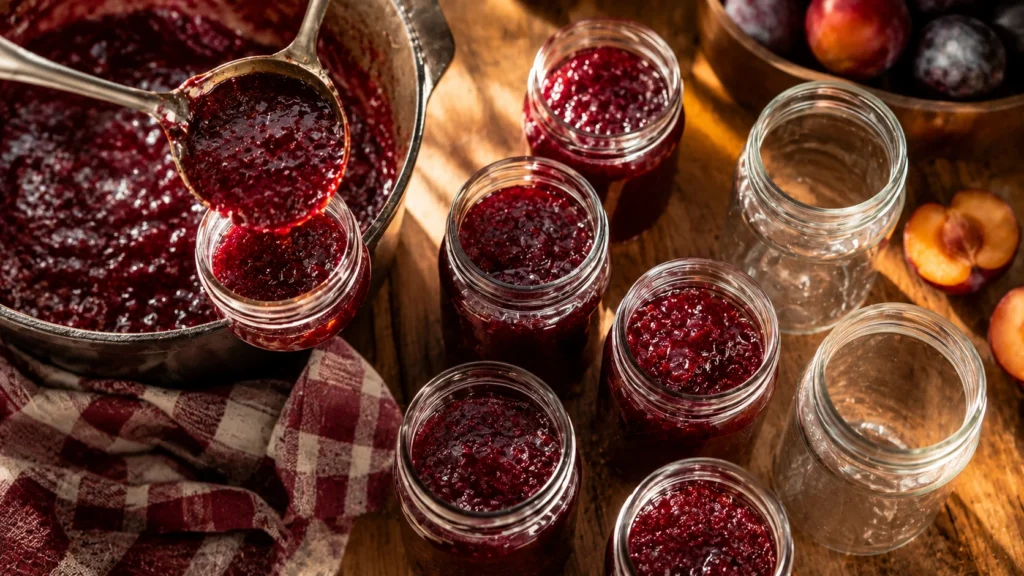
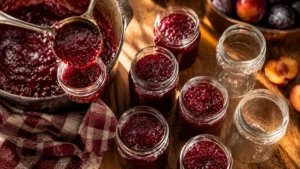
Ladle the hot jam into your clean jars, leaving a little space at the top. Wipe the rims clean and seal the lids while everything’s still warm.
WHAT IS Plum Jam Recipe, Jamie Oliver?
Plum jam is exactly what it sounds like: ripe plums cooked down slowly with sugar and a touch of lemon until they turn thick, glossy, and spreadable. It’s got that sweet-tart balance that plums naturally bring to the table. Unlike some fruit preserves, plum jam doesn’t usually need added pectin because plums have a decent amount of natural pectin in their skins. That’s part of why this recipe stays so simple. You’re really just coaxing out what the fruit already wants to do.
WHY YOU’LL LOVE THIS RECIPE
This one comes together with just a handful of pantry staples and one pot. There’s no fussy canning equipment required if you’re planning to keep it in the fridge. The color alone, that deep wine-red, makes it feel special even though it’s genuinely simple to pull off. I’ve brought jars of this to neighbors and gotten texts asking for more. It’s the kind of small kitchen project that makes you feel accomplished by dinner time.
PRO TIPS
- Use plums that are ripe but still slightly firm; overripe fruit can make the jam too soft.
- Chill your plate in the freezer before you start cooking, so it’s ready for the set test.
- Don’t walk away during the boiling stage; it goes from fine to scorched fast.
- Taste as you go; some plum varieties are sweeter than others.
- A splash more lemon juice helps if your plums are on the sweeter side.
Recipe Card
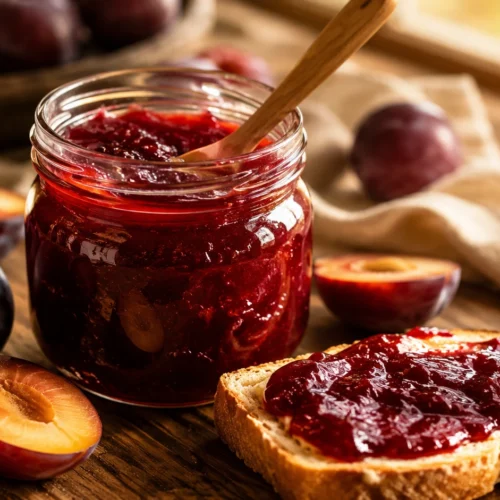
Plum jam recipe Jamie Oliver
Equipment
- Large heavy-bottomed pot
- Wooden spoon
- Small plate (chilled, for the jam test)
- Ladle
- 4 clean glass jars with lids
- Potato masher (optional)
Ingredients
- 2 lbs ripe plums pitted and chopped (about 6–7 cups)
- 3 cups granulated sugar
- 3 tablespoons fresh lemon juice
- 1 teaspoon lemon zest
- 1/4 cup water
- 1 pinch salt
Instructions
Step 1: Prep Your Plums
- Wash your plums well, then slice them in half and pull out the pits. Chop the flesh into small chunks, skin and all. Don’t worry about being too precise here; it’ll all break down
Step 2: Start the Simmer
- Add your chopped plums and water to your big pot over medium heat. Let them soften for about 10 minutes, stirring now and then so nothing sticks to the bottom.
Step 3: Mash It Down
- Once the plums are soft, give them a rough mash right in the pot. You want some texture left, not a smooth puree, so don’t go overboard.
Step 4: Add Sugar and Lemon
- Stir in the sugar, lemon juice, lemon zest, and that little pinch of salt. Keep stirring until the sugar fully dissolves into the fruit.
Step 5: Boil It Up
- Turn the heat up to medium-high and bring everything to a rolling boil. Stir often here, this is the stage where it likes to bubble up fast.
Step 6: Test for Set
- After about 20-25 minutes, drop a small spoonful onto your chilled plate. Push it with your finger, if it wrinkles and holds its shape, it’s ready.
Step 7: Jar It Up
- Ladle the hot jam into your clean jars, leaving a little space at the top. Wipe the rims clean and seal the lids while everything’s still warm.
Notes
INGREDIENT SUBSTITUTIONS
- No fresh plums? Frozen plums work, just thaw and drain first.
- Granulated sugar can be swapped for coconut sugar, though the color will darken.
- Bottled lemon juice works in a pinch if you’re out of fresh lemons.
- Prefer less sugar? Low-sugar pectin blends exist, but you’ll need to adjust cook time.
- Ground cinnamon or a vanilla bean can stand in if you want a warmer flavor twist.
EASY VARIATIONS
- Add a cinnamon stick while it simmers for a cozy, spiced version.
- Toss in a few crushed cardamom pods for something a little unexpected.
- Mix in a handful of blackberries for a deeper, jammier color.
- A splash of vanilla extract near the end adds a soft, rounded flavor.
- For a boozy twist, stir in a tablespoon of brandy right before jarring.
COMMON MISTAKES
- Using a pot that’s too small, this jam bubbles up higher than you’d expect.
- Skipping the set test and ending up with jam that’s basically syrup.
- Not stirring enough near the end, which leads to scorching on the bottom.
- Adding too much sugar too early, before tasting the natural sweetness of your plums.
- Jarring the jam while it’s only lukewarm instead of hot, which can affect the seal.
SERVING SUGGESTIONS
- Spread generously over warm buttered toast or biscuits.
- Swirl into plain yogurt or oatmeal for breakfast.
- Use as a glaze for roasted pork or chicken.
- Spoon over vanilla ice cream for a quick dessert.
- Layer into a simple thumbprint cookie for something homemade.
STORAGE TIPS
- Store sealed jars in the fridge for up to three weeks.
- For longer storage, process jars in a water bath canner for shelf stability.
- Once opened, always use a clean spoon to avoid introducing bacteria.
- Jam can also be frozen in freezer-safe containers for up to six months.
- Let frozen jam thaw in the fridge overnight before using.
NUTRITION FACTS
| Nutrient | Amount |
|---|---|
| Calories | 35-40 kcal |
| Total Fat | 0 g |
| Sodium | 1 mg |
| Total Carbohydrates | 9 g |
| Sugars | 8 g |
| Fiber | 0.3 g |
| Protein | 0.1 g |
| Vitamin C | 2% DV |
HEALTH BENEFITS & TASTE
Plums bring a nice dose of vitamin C and antioxidants to the table, even after cooking. The natural tartness balances out the sugar so it doesn’t taste like straight syrup. You get that rich, fruity depth with just a little tang trailing behind it. It’s not health food by any means, but it beats a lot of store-bought jams loaded with corn syrup. Homemade always lets you control exactly what goes in.
Also Read: 15 Zucchini Bread Recipe Ideas Everyone’s Baking
PERSONAL EXPERIENCE
I started making this jam years ago after a friend gave me a grocery bag full of plums from her tree. I had no idea what to do with that many at once, so jam felt like the obvious answer. That first batch taught me the hard way about using a big enough pot, with purple splatters everywhere. Now it’s become one of those late-summer traditions I actually look forward to. There’s something grounding about standing at the stove, stirring, watching fruit turn into something you’ll enjoy for weeks.
FAQS
Do I need pectin for plum jam?
Not usually. Plums have natural pectin in their skins, so this recipe sets up fine without added pectin.
Can I use yellow plums instead of red or purple?
Yes, any ripe plum variety works, though the color and sweetness level will vary slightly.
How do I know when the jam has reached its set point?
Drop a spoonful on a chilled plate and push it with your finger. If it wrinkles, it’s ready.
Can I make this jam without sugar?
You can reduce sugar somewhat, but it affects both flavor and how well the jam sets and stores.
Why did my jam turn out runny?
It likely needed a few more minutes of boiling, or the plums used were lower in natural pectin.
Can I double this recipe?
Yes, though it’s best to cook in batches rather than doubling in one pot, for even heat and proper set.
Is this jam safe to can for long-term storage?
Yes, if you process the jars using proper water bath canning methods for the correct time.
CONCLUSION
There’s a real kind of satisfaction that comes from turning a bag of plums into jars of something you made with your own two hands. This jam is simple, honest, and a little nostalgic if you ask me. I hope it finds a spot on your toast or in your yogurt bowl soon. If you give it a try, I’d love to hear how it turned out for you. Drop a comment, leave a rating, or share it with someone who loves plums as much as I do.